
A product preview is only the start. Make the choices work.
Choose the right visual experience by looking at what the customer needs to decide, and what your team needs to receive.
List the five decisions your customer makes most often.
Start with the customer’s decision
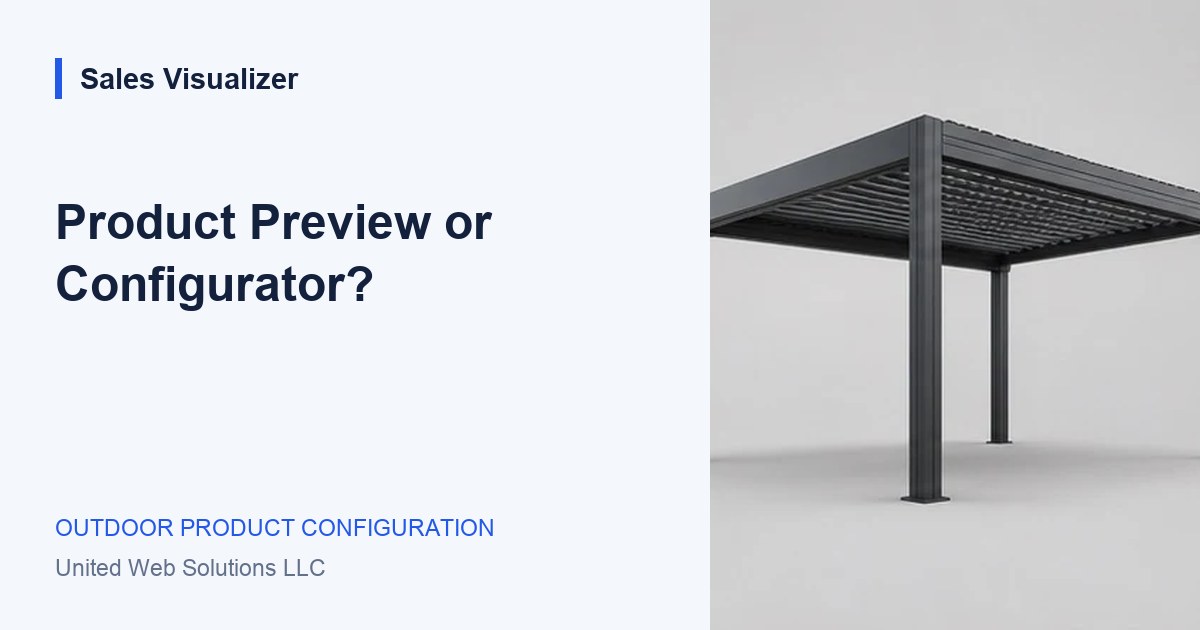
A customer comparing a pergola usually needs more than a convincing picture. They need to understand the footprint, compare a finish, see the roof options, and know which details require a conversation. Begin by listing those decisions. That list gives the visual experience a purpose.
A static photograph may explain the style well. A drawing can make dimensions clearer. An interactive preview can help compare selections. Choose the presentation that explains each decision, rather than treating visual complexity as an outcome in itself.
Separate appearance from product rules
A visualizer shows what a product could look like. A configurator also needs to understand which choices can go together. A roof option might depend on the span. A screen might require a particular frame. A finish might be unavailable on one accessory.
Ask your product specialist to document these dependencies. If a choice is unavailable, the interface should explain the reason and offer a relevant next step. A plausible image should not leave the customer expecting a combination your business cannot supply.
Make the summary as useful as the preview
The experience should produce a readable record: product, dimensions, finish, selected accessories, and the assumptions behind an estimate. Keep product names consistent with the terms your team uses in quotes and at the showroom.
Let the customer review that summary before enquiring. A revised selection should be easy to spot. This gives the salesperson a starting point and helps the customer recognize the choices they have already made.
Compare experiences with the same task
Use one realistic product brief when reviewing different approaches. Ask a customer and a salesperson to select the same footprint and options on desktop and mobile. Observe what they misunderstand and which facts the sales team still has to ask for.
Evaluate the accuracy of the choices, the clarity of the summary, and the next step. A polished render contributes to the experience; a usable product journey depends on the whole sequence.
Worked example: a pergola comparison
A hypothetical buyer wants a 4.0 × 3.0 m pergola with a dark frame and side protection. The review should test what the experience explains, rather than whether the render looks impressive.
- Can the buyer understand which side receives the screen?
- Does the summary carry the footprint and frame finish?
- Is final site and product review clearly explained?
Your review list.
- List the five decisions your customer makes most often.
- Document one dimension limit and two option dependencies.
- Check that the summary uses your catalog’s exact terminology.
- Try the same task on a phone and a desktop.
See the next step
in Sales Visualizer.
Explore an illustrative experience, then review your own range and requirements with your team.
Explore the visual configuration concept